How to Safely Remove Dog Ticks
By Ashmal Shah
23 June 2023
Ticks can pose a significant threat to our furry friends, carrying diseases that can harm their health. It's crucial to promptly and properly remove ticks from your dog to prevent potential complications. In this blog post, we will provide a comprehensive guide on how to safely remove dog ticks. By following these step-by-step instructions and taking necessary precautions, you can effectively remove ticks from your dog and minimize the risk of tick-borne diseases. Let's delve into the world of tick removal and ensure the well-being of your canine companion.
Gather the Necessary Tools
Before attempting to remove a tick from your dog, gather the essential tools. You will need fine-tipped tweezers, gloves, alcohol wipes, and a container to store the tick. Having these items readily available ensures a smooth and efficient removal process.
Prepare the Area
Find a well-lit area with good visibility to perform the tick removal. Place your dog in a comfortable position, and if necessary, enlist the help of a family member or friend to keep your dog calm and still during the process. Dogs can be sensitive to touch, so it's crucial to approach the task with patience and care.
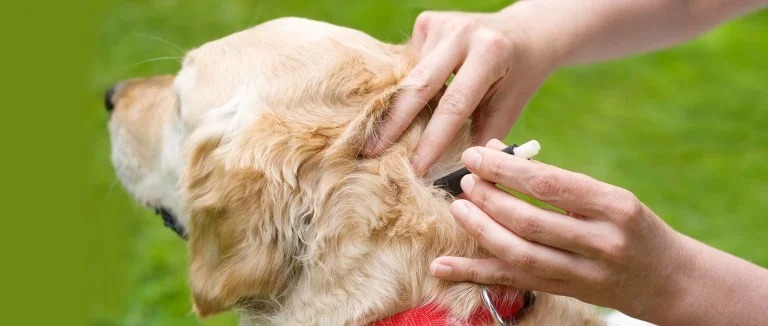
Wear Protective Gloves
Before touching the tick, put on a pair of disposable gloves to protect yourself from potential pathogens. Gloves serve as a barrier and prevent direct contact with the tick and any infectious agents it may carry.
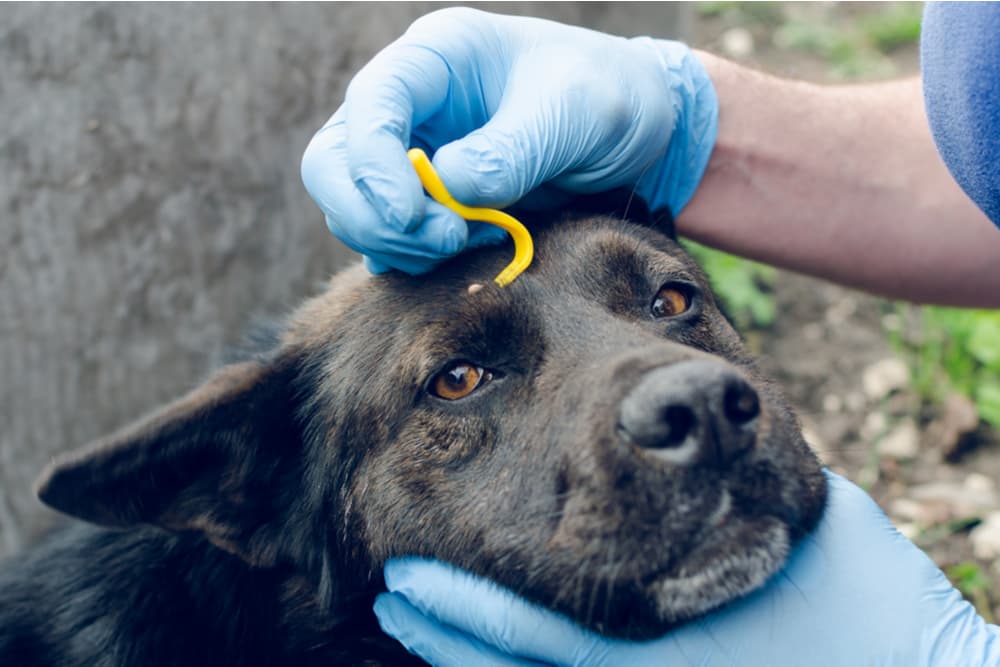
Grasp the Tick with Tweezers
Using fine-tipped tweezers, grasp the tick as close to your dog's skin as possible. Avoid squeezing the tick's body to prevent the release of disease-causing pathogens. Be gentle but firm in your grip to ensure you have a secure hold on the tick.
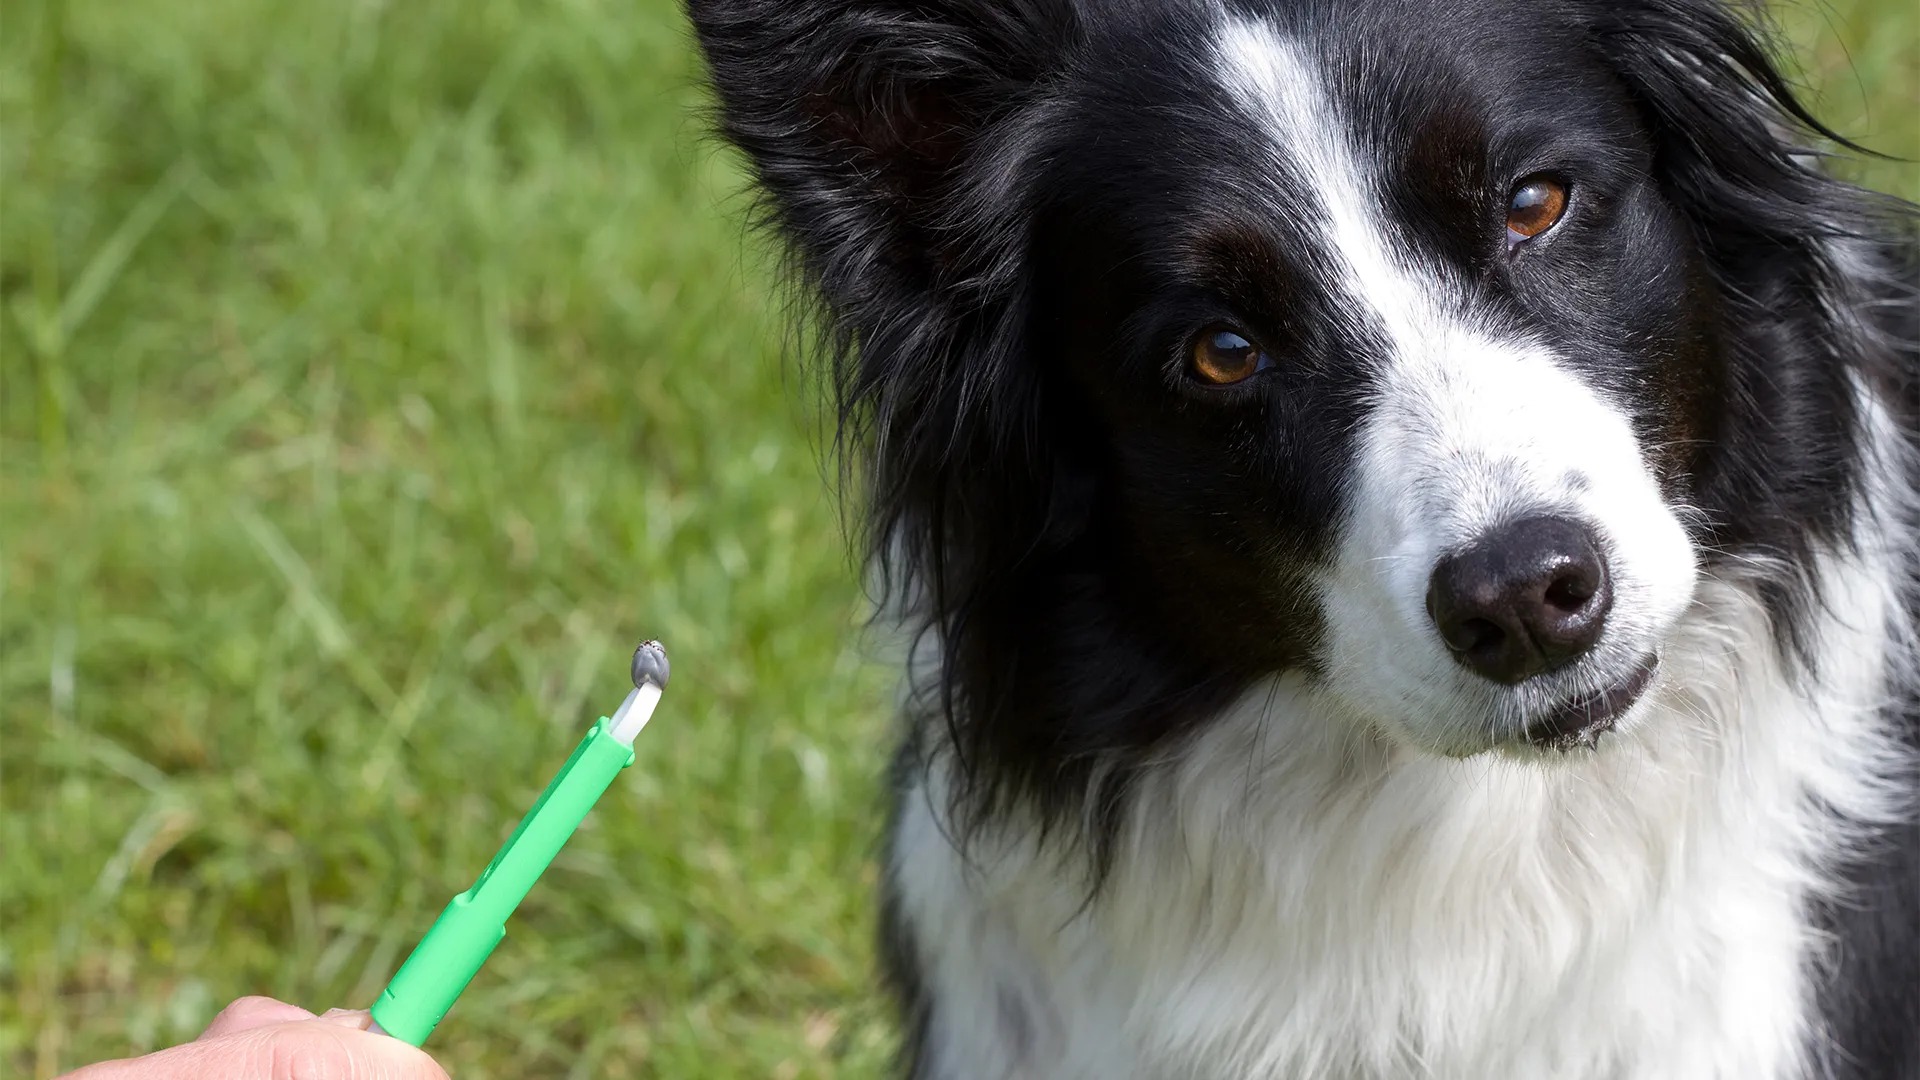
Remove the Tick Carefully
With a steady hand, pull the tick straight out from your dog's skin in one smooth motion. Avoid twisting or jerking, as this may cause the tick's mouthparts to break off and remain embedded. Ensure you remove the entire tick, including the head. If the tick breaks during removal, use the tweezers to remove the remaining parts.
Cleanse the Area and Disinfect Tools
After successfully removing the tick, clean the affected area on your dog's skin with mild soap and water. Disinfect the tweezers with rubbing alcohol or wash them thoroughly to eliminate any potential bacteria.
Preserve the Tick for Identification
Place the tick in a small container filled with rubbing alcohol to preserve it for identification purposes. Identifying the tick species can help determine the risk of disease transmission and guide future prevention strategies.
Monitor Your Dog and Seek Veterinary Care
Monitor your dog for any signs of infection or illness following tick removal. Look out for symptoms such as lethargy, loss of appetite, or unusual behavior. If you notice any concerning signs, consult your veterinarian promptly. Additionally, discuss tick prevention methods with your vet to protect your dog from future infestations and tick-borne diseases.
Conclusion
Removing ticks from your dog promptly and properly is crucial for their well-being. By following the step-by-step instructions outlined in this guide and seeking veterinary care if needed, you can effectively and safely remove ticks from your dog and minimize the risks associated with tick-borne diseases. Remember to stay vigilant, employ preventive measures, and keep your furry friend protected from ticks throughout the year.
You Might Also Want To Read This
Popular Posts