How to Make Yogurt at Home
By Ashmal Shah
4 July 2023
Yogurt is a versatile and nutritious food that can be enjoyed in various ways. Making yogurt at home is not only cost-effective but also allows you to have control over the ingredients and flavors. In this article, we will guide you through the simple and rewarding process of making yogurt in the comfort of your own kitchen.
Gather the Ingredients and Equipment
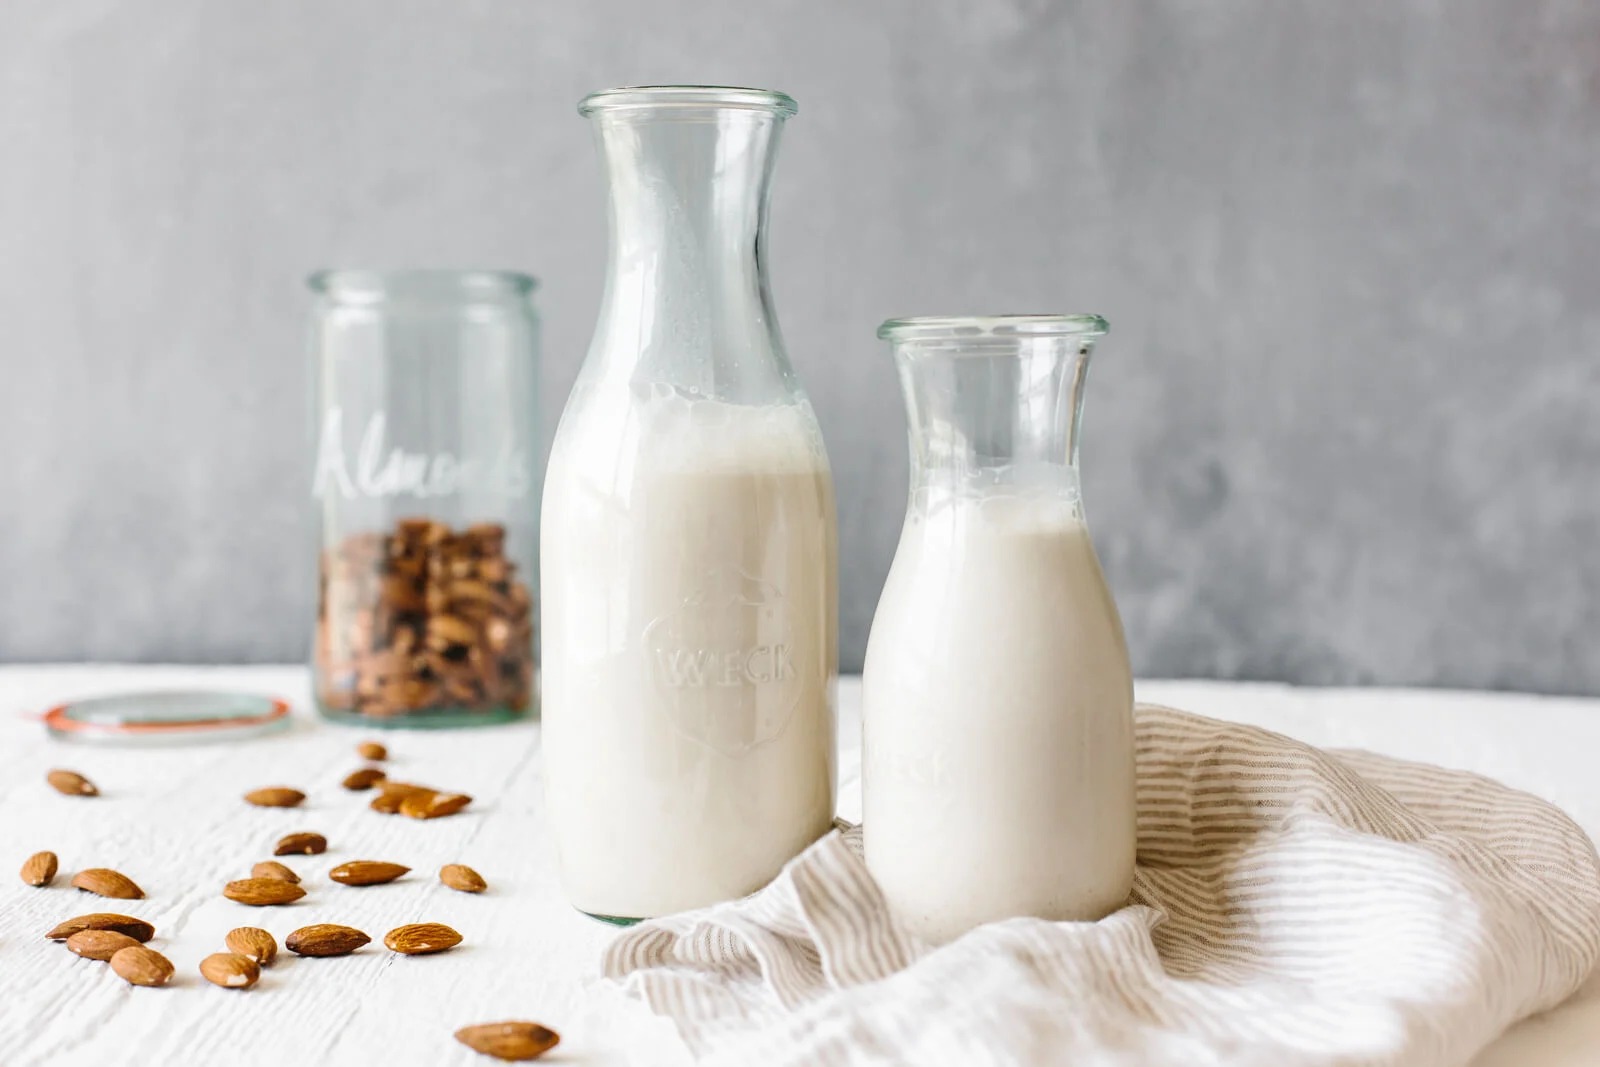
To make yogurt at home, you will need two main ingredients: milk and a starter culture, which can be store-bought plain yogurt containing live active cultures. Choose the type of milk you prefer, whether it's whole, low-fat, or non-dairy options like soy or almond milk. You will also need a saucepan, a thermometer, a whisk, and containers for incubation.
Heat and Cool the Milk
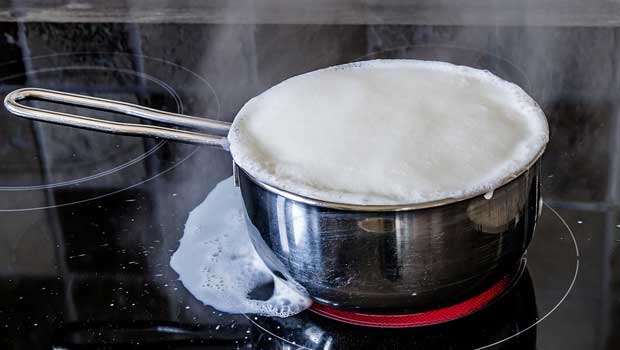
Pour the desired amount of milk into a saucepan and heat it slowly over medium heat until it reaches a temperature of around 180°F (82°C). Stir occasionally to prevent scorching. Heating the milk helps kill any harmful bacteria and alters the protein structure for a thicker yogurt. Once heated, allow the milk to cool to around 110°F (43°C).
Add the Starter Culture
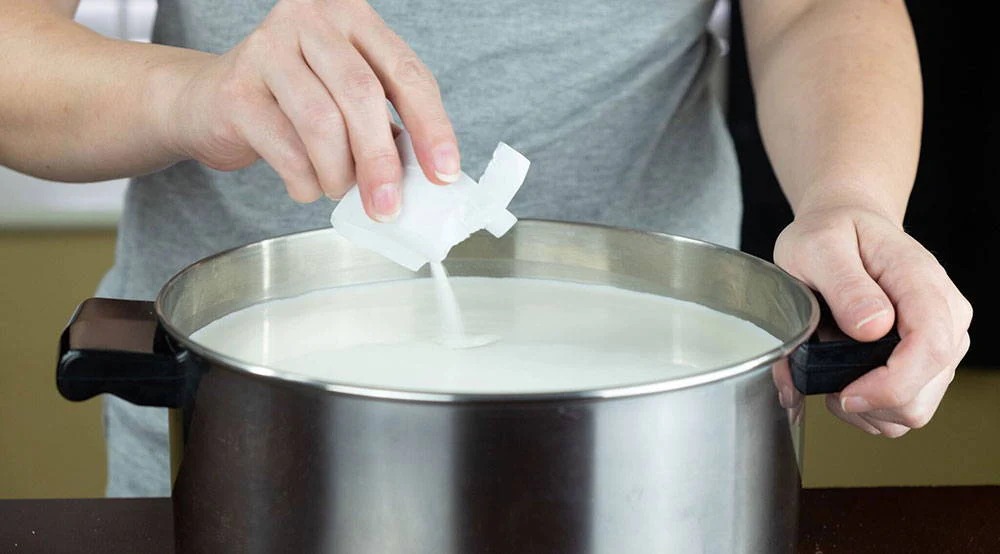
In a separate bowl, mix a small amount of the cooled milk with the starter culture and whisk until smooth. Then, pour this mixture into the remaining cooled milk and whisk thoroughly to ensure even distribution of the culture.
Incubate the Yogurt
Transfer the milk mixture into clean containers, ensuring they are sealed tightly. Place the containers in a warm spot, such as an oven with the pilot light on or a yogurt maker. Maintain a consistent temperature of around 100-110°F (38-43°C) for the next 6 to 8 hours, allowing the live cultures to ferment and turn the milk into yogurt. The longer the incubation time, the tangier the yogurt will become.
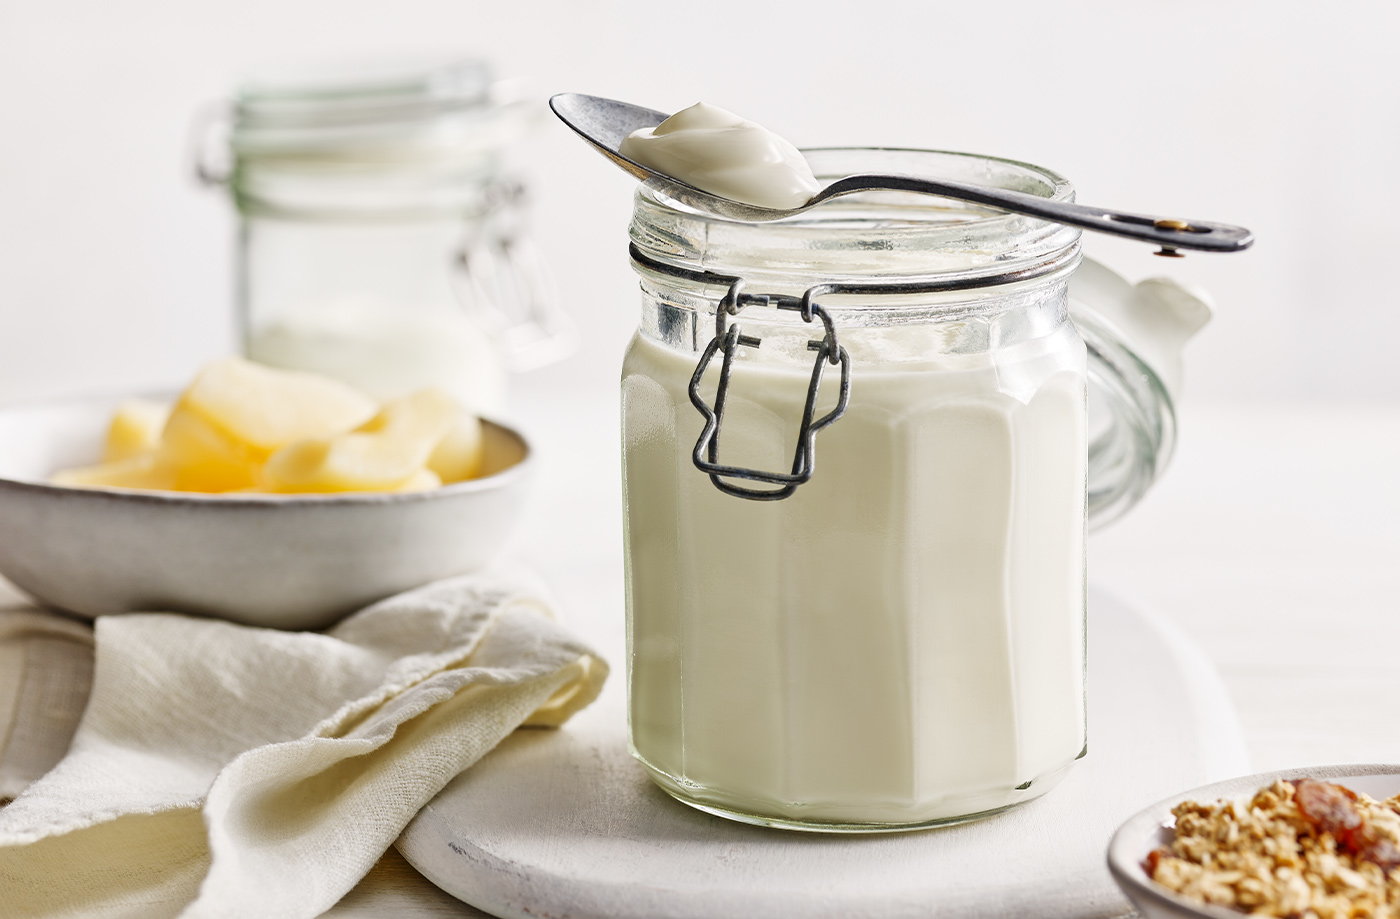
Refrigerate and Enjoy
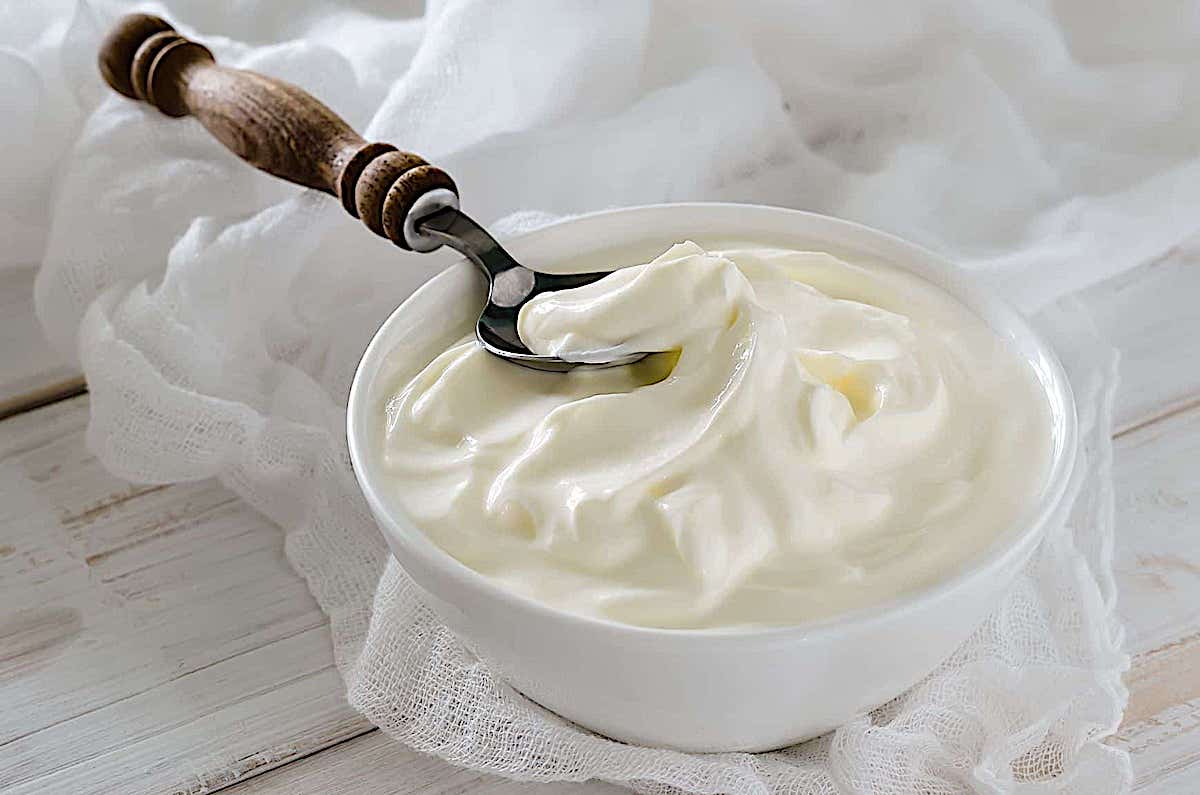
Once the incubation period is complete, refrigerate the containers for a few hours to set the yogurt further. The cooling process will also help thicken the yogurt. Once chilled, your homemade yogurt is ready to enjoy. You can savor it as is or add your favorite toppings, such as fruits, granola, or honey.
Save Some as Starter Culture
Before indulging in your freshly made yogurt, set aside a small portion to use as a starter culture for your next batch. This way, you can continue making homemade yogurt without having to rely on store-bought starter cultures.
Conclusion
Making yogurt at home is a simple and rewarding process that allows you to customize flavors and control the ingredients. With just a few steps, you can enjoy delicious, creamy yogurt that is packed with beneficial probiotics and nutrients. So, grab your ingredients and equipment, and embark on your homemade yogurt-making journey today!
You Might Also Want To Read This
Popular Posts