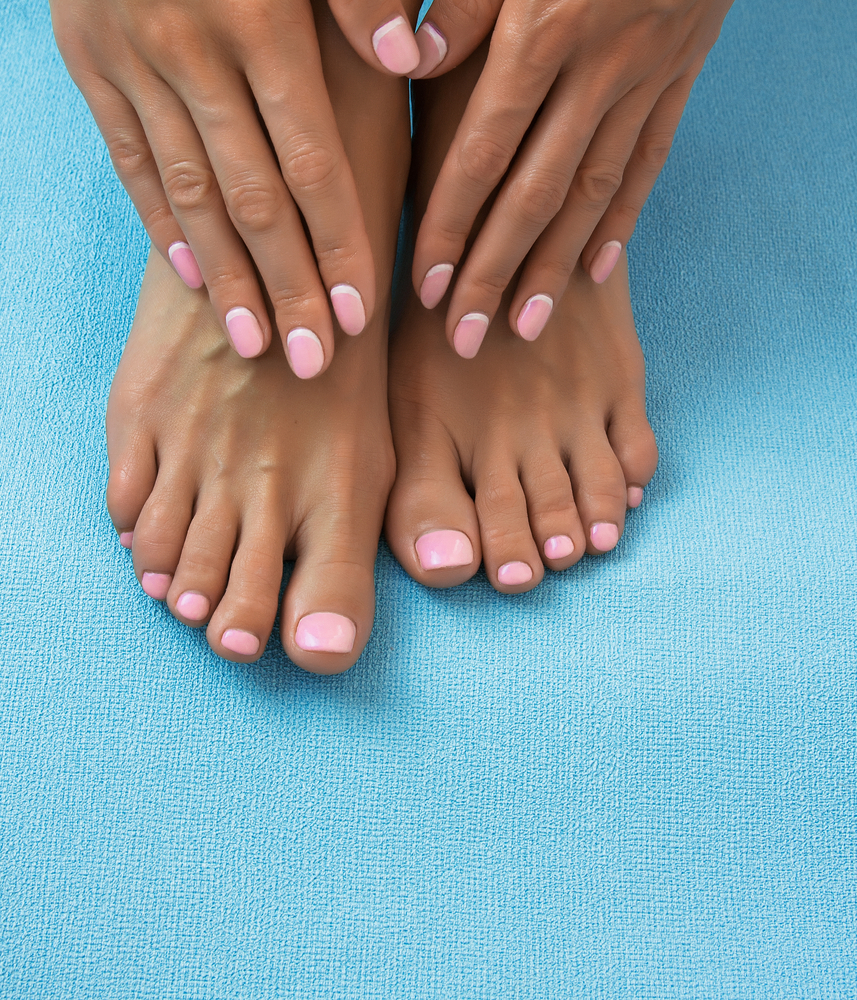
Tried & Tested Steps For The Best At-Home Mani-Pedi
By Hafsa Hafeez
24 November 2022
Whether you're trying to save money or are hesitant to go to the salon, there's never a bad time to learn how to do your manicure at home. Painting your nails not only provides a sense of accomplishment (while also saving money), but it can also have therapeutic benefits.
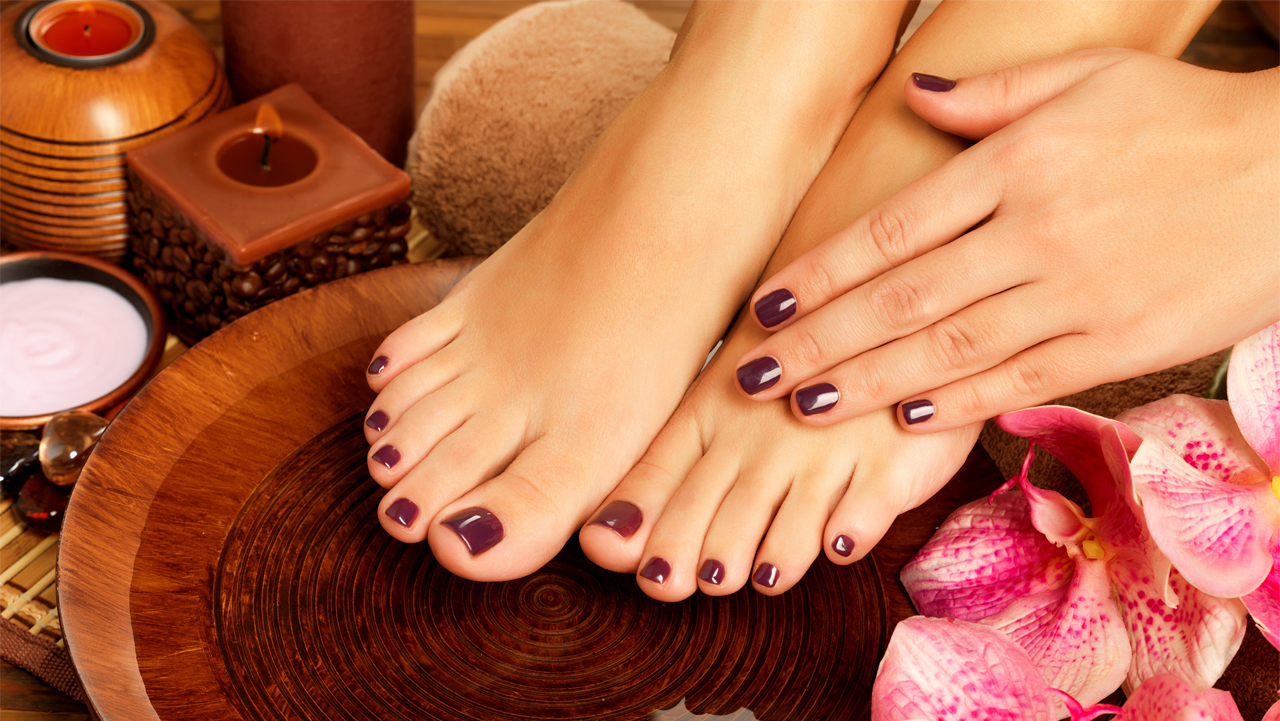
Furthermore, the idea of not leaving the house is very appealing, even without considering health and safety concerns. Even if you've been doing your manicures for the past two years, it can be difficult to achieve the same results at home that you do at the salon.
But getting Insta-worthy nails on your own isn't impossible; in fact, learning how to do a manicure at home is fairly simple. A little practice, patience, and the proper nail tools will go a long way.
To alleviate your DIY concerns, we asked celebrity manicurists to share their best self-manicuring nail tips for painting your nails like a pro. It turns out to be simpler than we thought. It only takes ten simple steps. Follow along for a manicure that will have everyone asking where you got your nails done. Don't worry, we'll keep your secret safe.
Begin with a blank slate
Before you begin, remove any polish from your fingernails and toes with a non-acetone remover (acetone can be very harsh and stripping!). Then, using clippers and/or a file, gently shape your nails to the length and shape you desire. We prefer a crystal nail file because it shapes even the most delicate nails and prevents them from splitting. Then, using a buffing block, smooth the surface of your nails (this will also remove the unsightly yellow stains that we all get from wearing too much dark polish!). For a high shine, use the smooth buffing side.
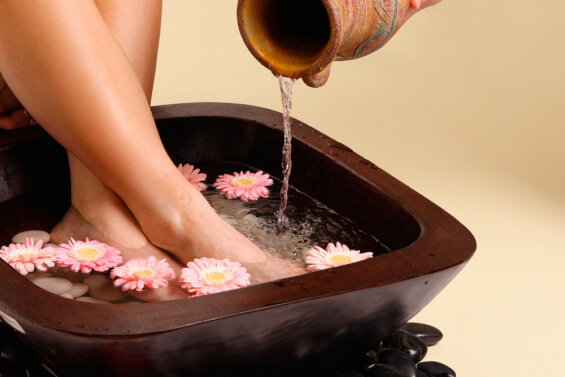
Scrub and soak
Soak your hands for 2–3 minutes and your feet for 5 minutes. It's now time to exfoliate! We love Tree Hut's inexpensive body scrub, but for a quick at-home remedy, combine one tablespoon of sugar with one tablespoon of baby oil gel and gently scrub away the dead, dry cells. It smells wonderful and leaves your skin feeling silky smooth. Rinse thoroughly and pat dry.
Take care of your cuticles
Rub some oil on your cuticles to soften them. Your cuticles should be nice and soft by now, so push them back with an orangewood stick to get a nice shape. This tool can also clean the dirt from under the nail. Now comes the exciting part: a massage! Apply a thick moisturizer to your skin. Remember your heels and cuticles! Before proceeding to step 4, remove any oil and moisturizer from the nail beds with a non-acetone polish remover. Clean nails are essential for long-lasting polish.
Do not omit the base coat.
Smooth any ridges and create an even surface for your color with a base coat. One thin coat will suffice.
Remove the polish
Apply two thin layers of polish, allowing each coat to dry completely between coats. To do it properly, start by swiping polish down the center of the nail, then on each side. The key is to keep the polish layers as thin as possible to increase longevity and speed up drying time.
Finish with a top coat.
A top coat does more than just add shine. It also smooths out any blemishes and flaws, which is often a lifesaver. You will only require one coat. Add another layer of coat to your mani/Pedi to quickly refresh it throughout the week.
Relax and avoid touching anything.
Just relax and resist the urge to do anything other than sitting on the couch and watching Real Housewives. You've earned it (and your freshly painted nails do too). Apply a few drops of Olive & June's Dry Drops to the nails for a picture-perfect finish. Although this is entirely optional, it will significantly accelerate the drying process.
You Might Also Want To Read This
Popular Posts