Making Sugar Wax at Home for Silky Smooth Skin
By Ashmal Shah
9 August 2023
In the pursuit of smooth, hair-free skin, many individuals turn to various hair removal methods. One popular and natural option is sugar waxing, which has been used for centuries to achieve hairless perfection. The best part? You can easily make sugar wax at home with simple ingredients found in your kitchen. In this article, we unveil a step-by-step guide to crafting sugar wax at home for a natural and effective hair removal experience.
Why Sugar Wax?
Sugar wax, also known as sugaring, is a gentle and natural hair removal method that dates back to ancient times. Unlike commercial waxes that may contain chemicals, sugar wax is made from simple, edible ingredients, making it a safer option for your skin. Not only does sugar wax remove unwanted hair, but it also exfoliates the skin, leaving it smoother and softer.
Ingredients for Homemade Sugar Wax
Creating your sugar wax is a straightforward process that requires minimal ingredients:
Sugar: The base of your wax, sugar acts as a natural exfoliator and hair remover.
Lemon Juice: Lemon juice helps prevent the sugar from crystallizing and adds a pleasant scent.
Water: Water is used to create a syrupy consistency for the wax.
Optional: Essential oils like lavender or chamomile can be added for a soothing aroma and additional skin benefits.
Step-by-Step Guide to Making Sugar Wax
1. Gather Your Ingredients:
Measure out the required amounts of sugar, lemon juice, and water. You'll need 2 cups of sugar, ¼ cup of lemon juice, and ¼ cup of water.
2. Mixing the Ingredients:
In a heavy-bottomed saucepan, combine the sugar, lemon juice, and water. Stir the mixture over low to medium heat until the sugar dissolves completely.
3. Cooking the Mixture:
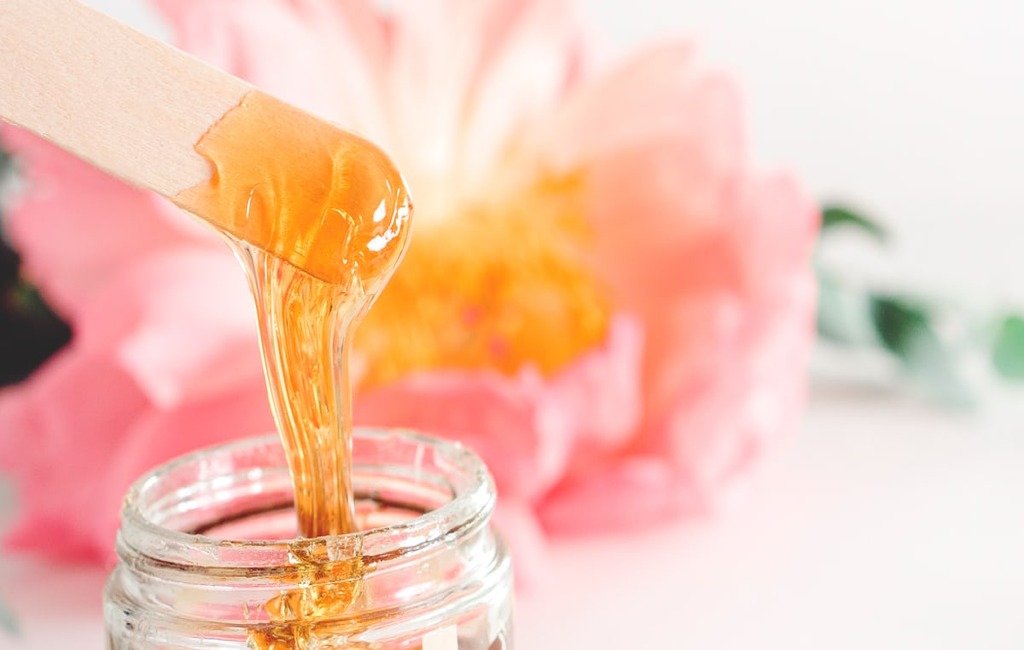
Once the sugar has dissolved, allow the mixture to simmer without stirring. Keep a close eye on it to prevent burning. The mixture will gradually transform into a golden color.
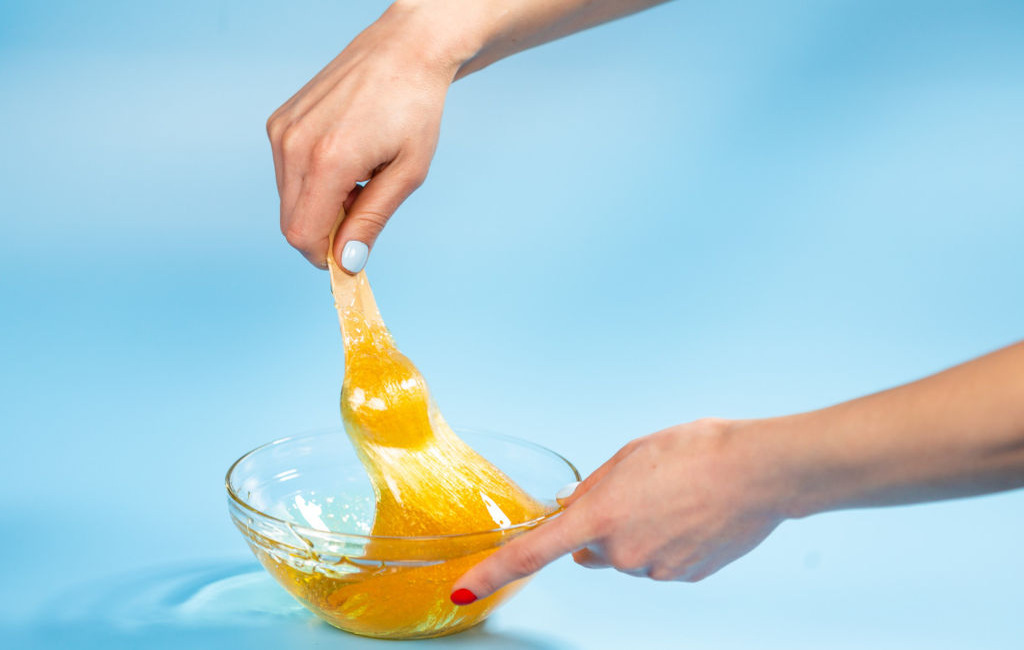
4. Testing the Consistency:
To test the consistency, drop a small amount of the mixture into a bowl of cold water. If it forms a pliable ball, it's ready. If not, continue simmering and retesting until the desired consistency is achieved.
5. Let It Cool:
Remove the saucepan from the heat and allow the mixture to cool. It should be warm but not too hot to handle.
Applying and Using Your Homemade Sugar Wax
1. Prep Your Skin:
Cleanse and dry the area you wish to wax. Sprinkle a bit of baby powder or cornstarch to absorb excess moisture and oils.
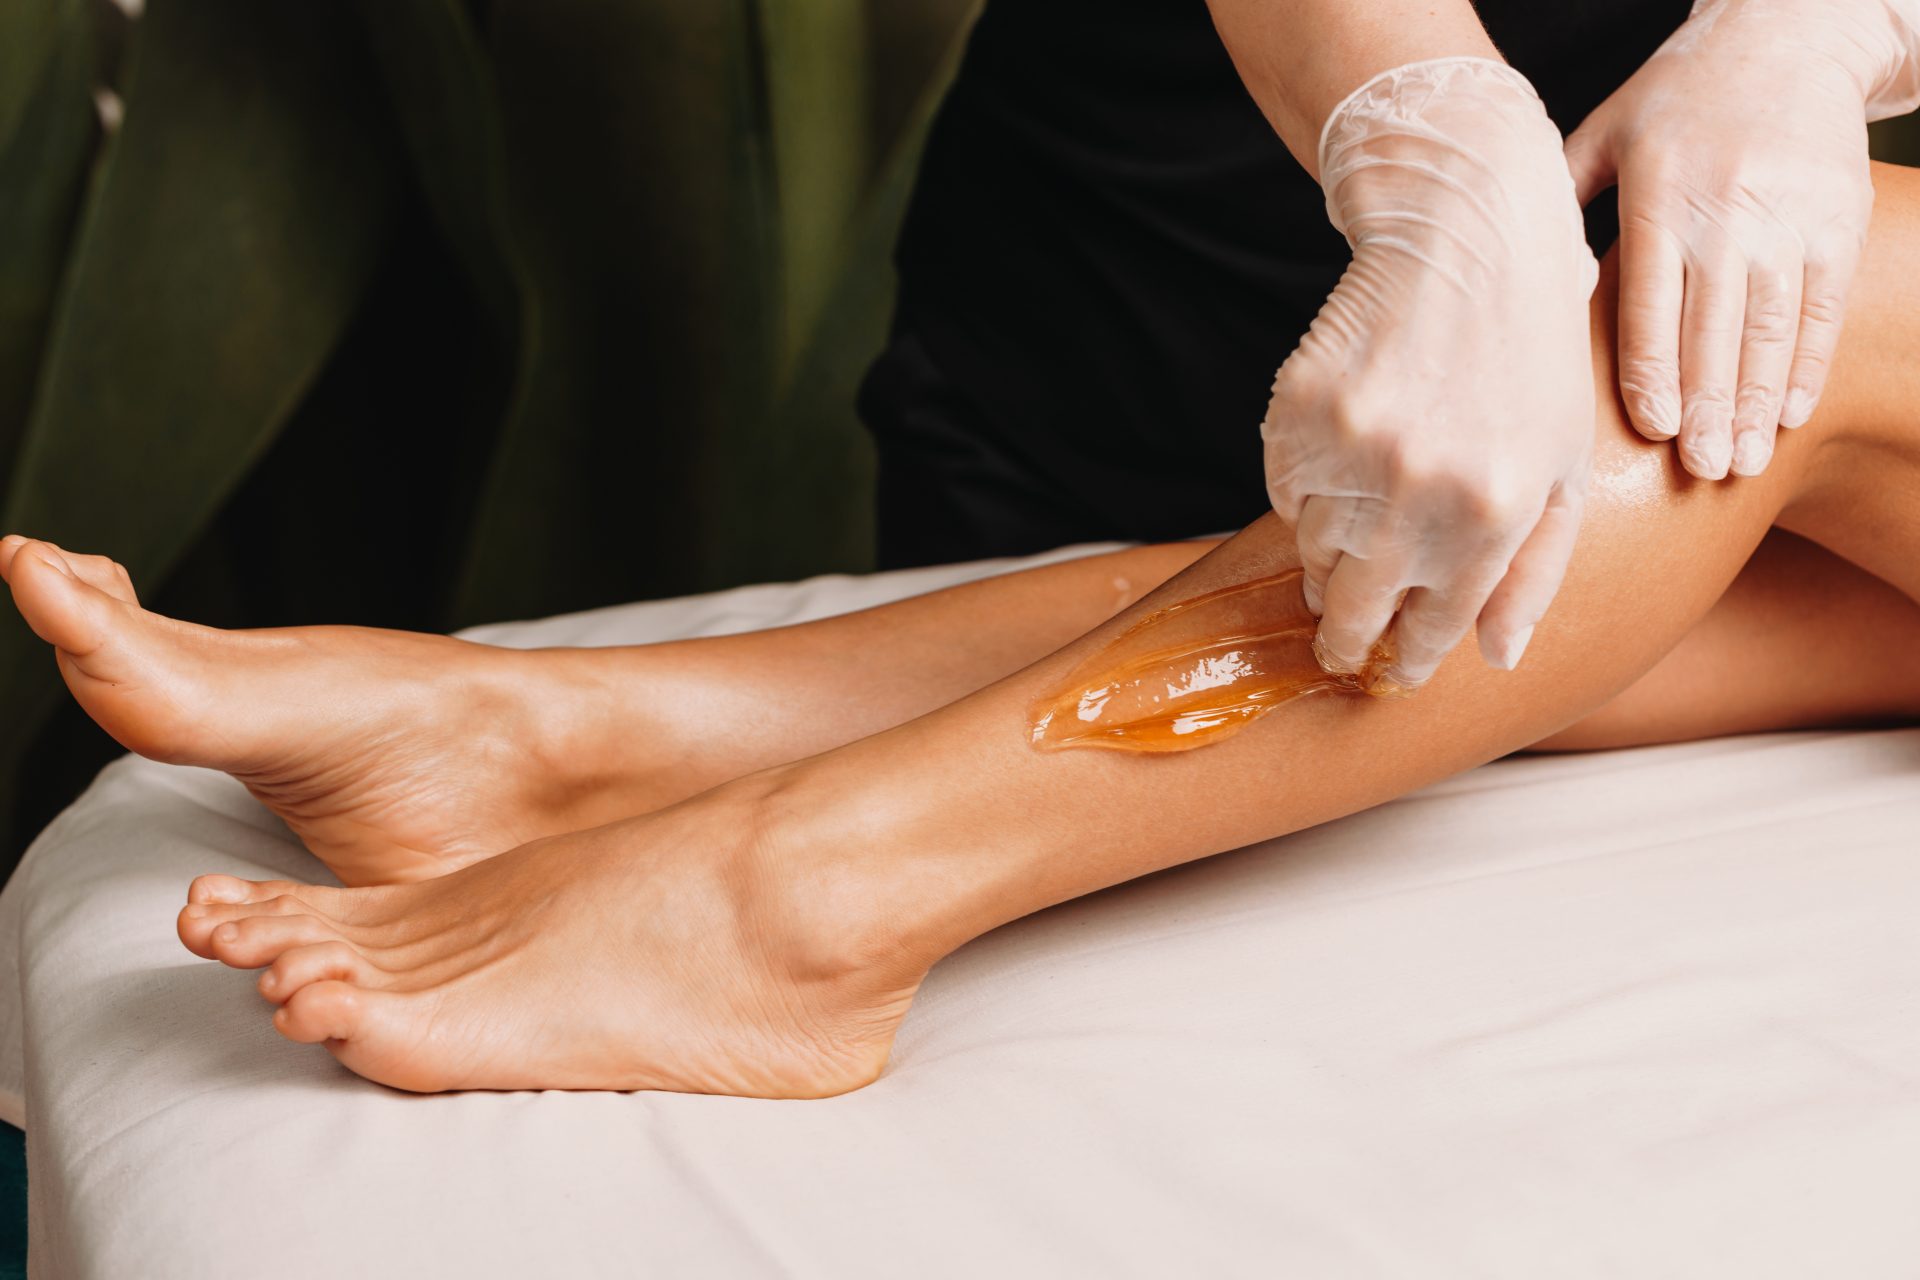
2. Applying the Wax:
Using a wooden spatula or your fingers, apply a thin layer of the cooled sugar wax in the direction of hair growth.
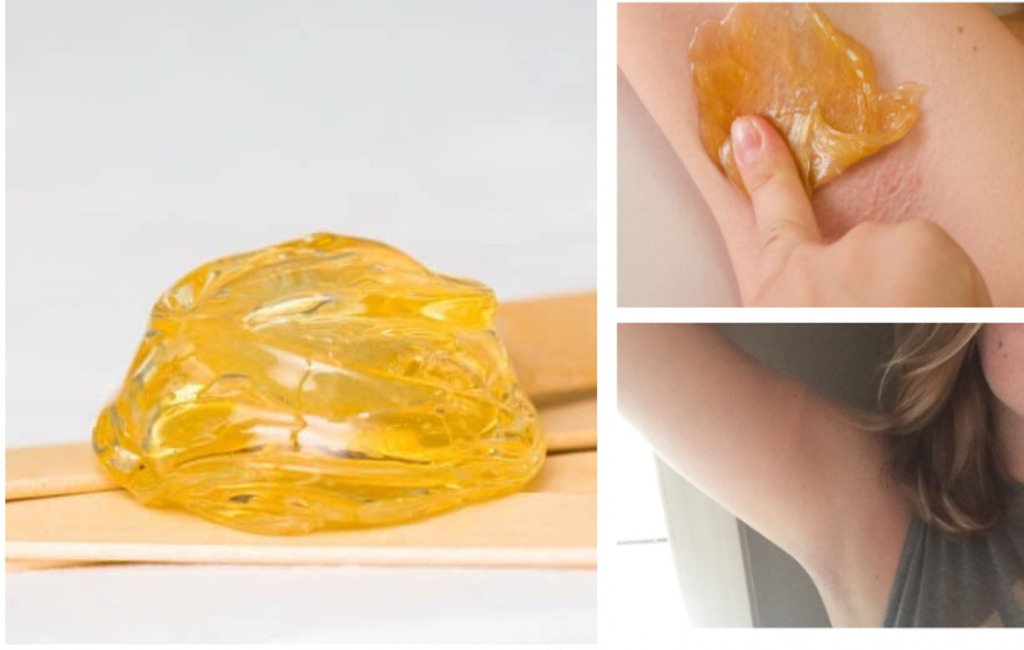
3. Removing the Hair:
Place a fabric strip or a piece of muslin cloth over the applied wax, pressing it down firmly. Hold your skin taut with one hand and quickly pull off the fabric strip against the direction of hair growth with the other hand.
4. Soothe and Moisturize:
After waxing, rinse the area with cool water and pat it dry gently. Apply a soothing aloe vera gel or a moisturizer to calm the skin and reduce any redness or irritation.
Conclusion
Creating sugar wax at home is not only cost-effective but also allows you to control the ingredients that come into contact with your skin. With just a few kitchen staples, you can whip up a batch of natural sugar wax that effectively removes unwanted hair while exfoliating and nourishing your skin. By following this DIY guide, you can enjoy the benefits of smooth, hair-free skin in the comfort of your own home, all while embracing a natural and ancient hair removal tradition.
You Might Also Want To Read This
Popular Posts